Beginner’s iNav build academy: 2. FPV Component selection
In the last article, we looked at the AtomRC Dolphin and why it was chosen for the easy iNav build series. We also looked at which components could work well if you choose not to get the PnP version. This time we look at the FPV side of thing. From FPV components that we all need, to other things that you will need if you are completely new to this.
Flight Controller
The flight controller is the brain inside the aircraft. It works along side the brain outside the aircraft, that’ll be you, to fly the plane. The flight controller can do as little or as much as you want. From just providing a mixer all the way to flying the plane it’s self. We will of course cover the functionality behind this later. For now, we just need to choose a flight controller that will fit our purpose.
All these flight controllers are made by Mateksys. I have their flight controllers in all but one of my planes. I trust the products, which is why I’m recommending them. There are some issues if you are trying to run a high power demand setup. But, for our single motor 4S setup, they will be absolutely fine. Just so you know, Mateksys don’t pay me a penny, and I’ve never received anything from Mateksys as a freebie for review. I just want to be transparent with you guys. In fact, when I list my chosen parts, I will let you know where the parts came from.
End of Life (EOL)
Since writing this article, some of the flight controllers have become EOL. There may be a few flight controllers being replaced over the next few years due to chip shortages. But companies like Mateksys are doing their best to keep product lines available. The EOL flight controllers should have similar level replacements, so check the Mateksys website for the current line-up. There is also a flight controller comparison tool on this web site, which may help.
With Mateksys, the fixed wing flight controllers are easy enough to keep track of. The original fixed wing flight controller has the suffix WING. The Wing Second Edition is the WSE, third edition WTE, etc. Though, what will happen at the fifth edition is anyone’s guess. I will update this page if we get that far.
Mateksys F405-WSE (EOL)

£45.50 (3DXR) | €53.10 | US$55.40
For a long time, the Mateksys F405-WING was considered to be one of the go-to flight controllers for fixed wing FPV. The F405-WSE is it’s replacement, WSE meaning Wing Second Edition. There are many similarities between the two flight controllers, they even use the same target. But the WSE has some improvements. The barometer is better, the USB is now type-C and on a breakout board, and the MicroSD card is easier to get to.
Mateksys F765-WSE (EOL)
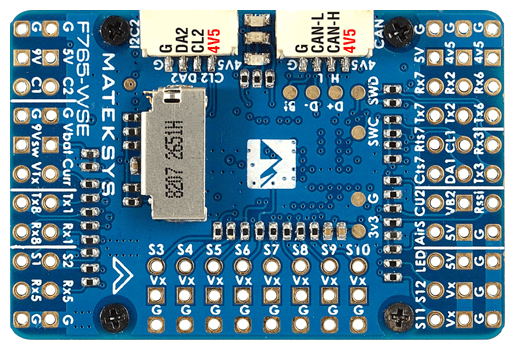
£62.10 (HobbyRC) | €72.50 | US$75.60
The Mateksys F765-WSE is another second edition flight controller. There is a fair jump in cost, but for that you get a faster processor, an extra UART, two more PWM outputs, and 3 more ADCs. A lot of this may just sound like letters at the moment. But, the main thing to take away is that there is potential to do a little more with this flight controller. The biggest advantage, however. Is that an F765 MCU has built in inverters. This means there is no dedicated SBUS pad. It’s not needed. It makes wiring up different receivers simpler.
Mateksys H743-WING v2/3
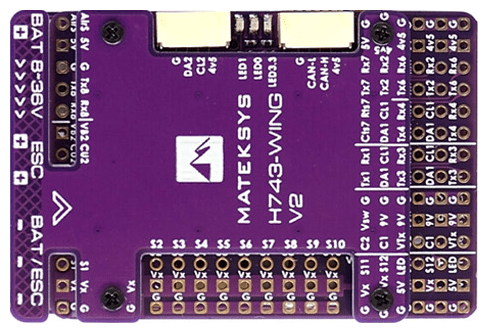
£59.95 (UnmannedTech) | €70.00 | US$73.00
The H743 is a relatively new MCU to RC flight controllers. But, this one will be more future-proof. It runs faster than the F765 and has double the ram. As far as UARTS, PWM, and ADCs go, this has the same as the F765-WSE. The H743 also has built in inverters. As this is currently slightly cheaper than the F765-WSE. I would get the H743-WING V2/3 every time for a flight controller around the £60/€70/$80/ mark.
Why no F411 or F722 options?
I have chosen not to include F411 and F722 based flight controllers for a couple of reasons. Firstly, iNav has already started to reduce the functionality on these boards. They only have 512KB of flash memory, which restricts what you can store on there. The other boards listed have at least double that, quadruple in some cases. Also related to the memory, other flight controller firmware, such as ArduPlane, will not work on these boards. So with the F405, F765, and H743 you have more options if you want to explore.
The F411 is a pretty limited board, with only 2 UARTS available. This can be ok for some builds. But why suffer when the Dolphin has plenty of space inside for a slightly larger, but significantly more feature packed flight controller.
GPS Module
The GPS module is used to get the current location, heading, and speed of the model. This is used for quite a few things by the flight controller. From simply showing you information in the on-screen display (OSD), to autonomously flying the plane. The good thing with these GPS modules is that a cheap module will still work reasonably well. You can pay more, which will give you faster locks and a bit more accuracy if you wish.
Team Blacksheep M8.2
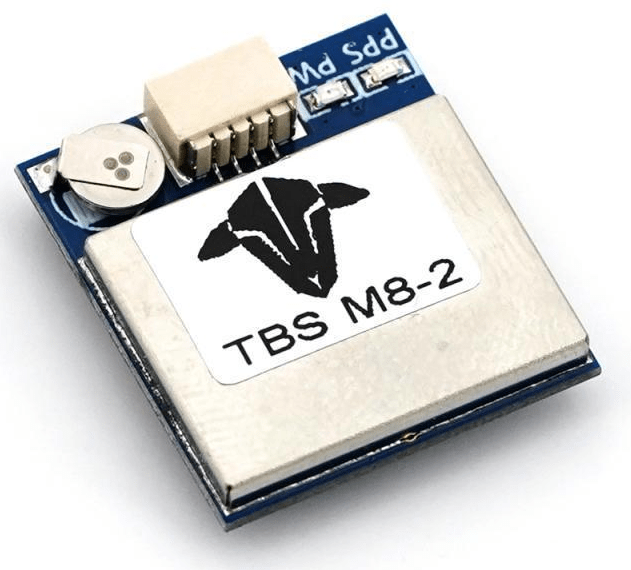
£8.90 (UnmannedTech) | €10.40 | US$10.80
I’m going to start by saying that the TBS M8.2 has had varied reviews. Some people have had problems. Other people it has worked fine. Me personally, I’ve not noticed this being any better or worse than the Beitan BN180 or BN220. I can get around 6 satellites on my bench, not particularly close to the window.
Beitian BN-220
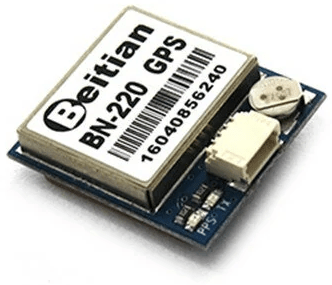
£12.45 (UnmannedTech) | €14.50 | $15.20
The Beitian BN-220 has been the go-to, cheap, small GPS for some time. Though not the best performing GPS, it’s performance is absolutely find of out need. The fix is quick enough, and satellite count high enough. The price of these module has gone up since the whole pandemic thing. These used to cost around £8!
Mateksys SAM-M8Q
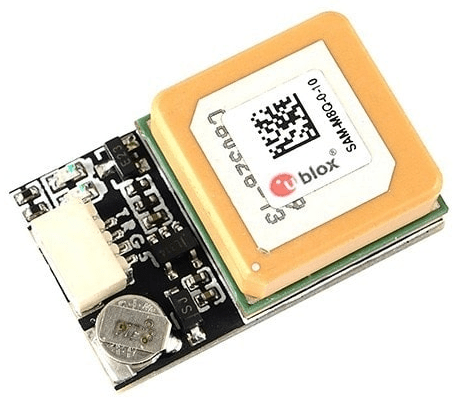
£21.45 (HobbyRC) | €25.00 | $26.10
The Mateksys SAM-M8Q is quite a bit more expensive than the two previous GPS modules. But, it is using a genuine UBLOX chip, rather than a clone. Plus the antenna will likely be better tuned. It does perform better than the other modules. Is it worth the price difference? That is for you to decide.
FPV system
The FPV system is a tricky thing to recommend at the moment. There are basically two types of system: analogue and digital/HD. Analogue is the older technology, that has been used with FPV for a long time. Digital is still pretty new, and not yet mature. Both systems have their advantages and disadvantages, which I will cover in a sec. Then you can decide on what is right for you.
Just for advanced warning. I will be using an analogue FPV system in this build series. I have yet to invest in a digital HD system. Personally, I feel like there would be too much compromise in most builds, just to have a nicer image. Don’t get me wrong, having that view would be amazing. But I’m happy to wait until these systems improve and more manufacturers join the HD party. That and it is expensive! Some people will try to convince you that it’s not much more than analogue. But I feel that is not true. A decent analogue camera and VTx (Video Transmitter) costs about the same as the HD VTx price alone for digital.
System Comparisons
I mentioned that both types of system have advantages and disadvantages, so lets take a look at those. The Winner column is based on 5.8GHz only. So that all systems are comparable.
| Analogue | HDZero | DJI FPV | Winner | |
|---|---|---|---|---|
| Image quality | This is the baseline. To say that the image is only flyable is unfair. The images is decent enough, but it’s not spectacular like HD. | With the new linup of cameras, HDZero is no longer just considered “analogue +”. The image is a great 720p HD view. | There’s no doubt. DJI’s image is the best of the lot. Stunning 720p HD views all round. | DJI |
| DVR | DVR is pretty terrible for a lot of analogue systems. The image in the goggles looks much better than the DVR footage. | HDZero DVR is just as great as the image. Plus you have the OSD recorded in the DVR. | The image is great. But, the OSD isn’t recorded. | HDZero |
| Signal penetration | 5.8 GHz analogue isn’t great a getting through objects. Lower frequencies improve on this. | HDZero has pretty good penetration. Better than 5.8GHz analogue. | DJI has the best signal penetration on 5.8GHz. It even does well in and around concrete. | DJI |
| Signal range | Range is dependant on antennae, more so the receiver antenna. There are videos of people flying tens of kilometres. | Range is dependant on antennae, more so the receiver antenna. There are videos of people flying tens of kilometres. | Range is hard limited to 13.3 kilometres. Regardless of antennae. | Analogue & HDZero |
| OSD | The analogue OSD is fully featured, has all elements, and can be set up excactly as you want. | HDZero uses canvas mode for it’s OSD. So it gets the full goodness of the analogue OSD. | DJI’s OSD is limited. There are too many things missing that it has taken DJI off the list of potentials for me. | Analogue & HDZero |
| Setup cost (from nothing) | Average camera £30 Average VTx £30 Average goggles £300 Average VRx £90 Antennae £50 Total £500 | Average Camera £45 Average VTx £70 Average Goggles £300 (for the analogue goggles) Average VRx £190 Antennae £70 Cable £10 Total £685 | Average camera £40 Average VTx £90 Goggles £600 Total £730 | Analogue |
| Repeatable cost | Average camera £30 Average VTx £30 Antenna £15 Total £75 | Average Camera £45 Average VTx £70 Antenna £15 Cable £10 Total £140 | With DJI this is usually a combo unit Average camera £40 Average VTx £90 Total £130 | Analogue |
| Flexibility | Can use different frequencies. Simple wiring allows for more installation options. Plus you can have multiple cameras. | 5.8GHz only. There are limits to the length of the MIPI cables. So installations are more compromised. | 5.8GHz only. There are limits to the length of the MIPI cables. So installations are more compromised. | Analogue |
Analogue FPV Cameras
The FPV camera is the device that captures what you see from the plane. Better quality lenses and larger sensors generally lead to a better image. Some cameras allow you change between a 16:9 or 4:3 aspect ratio. This is great, as they will be fine with whatever goggles or screen you use. Some cameras also allow you to switch between PAL an NTSC video formats. There are 5 approximate sizes of FPV camera. From small to large they are pico, nano, micro, mini, and standard.
Foxeer Razer Micro
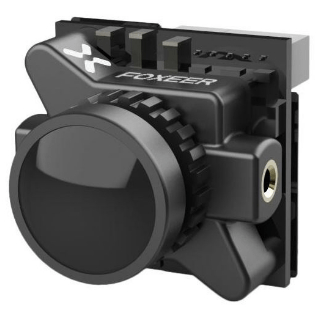
£12.65 (HobbyRC) | €14.80 | $15.40
Just to prove the point that you don’t have to spend a lot of money to get a reasonable image; the Foxeer Razer is the first camera in the list. You can get the camera in a variety of sizes, from pico to mini. I have the mini version in my Mini AR.Wing. And to be honest, I was pleasantly surprised by the image. It is no worse than the original Foxeer Predator, which was a £30 camera. This camera has a smaller 1/3″ sensor. It isn’t as good as other cameras out there and you cannot change the aspect ratio between 4:3 or 16:9, so you need to select the right ratio when you buy it. But for under £13 it does a great job.
Caddx Ratel 2
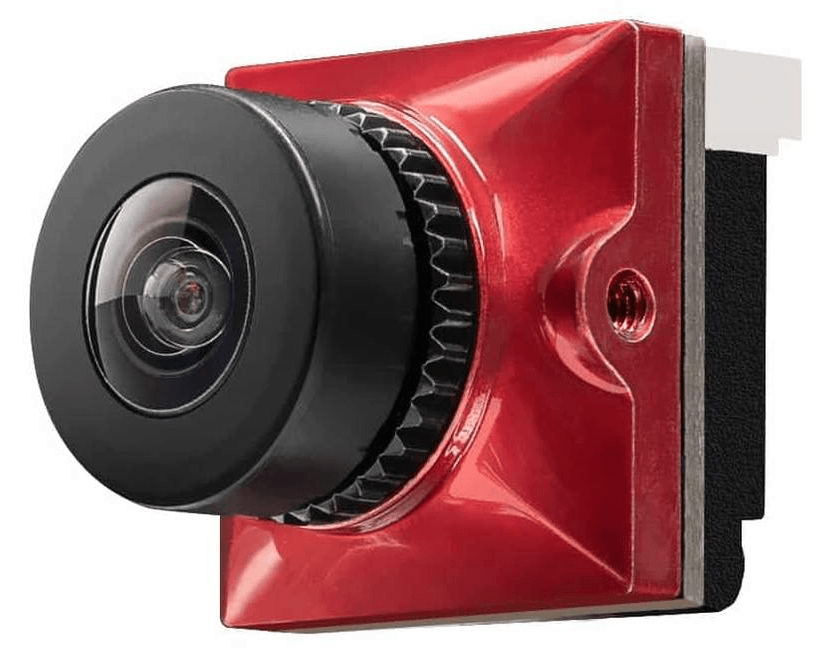
£20.95 (UnmannedTech) | €24.50 | $25.50
The Ratel 2 is another micro camera. There is also a smaller, nano sized version called the Baby Ratel 2. Both cameras are basically the same, other than the physical size and the lens. They both have the same, large 1/1.18″ sensor. You can switch aspect ratio and between PAL and NTSC in the camera menu.
Foxeer T-Rex Micro
£32.95 (UnmannedTech) | €38.50 | $41.10
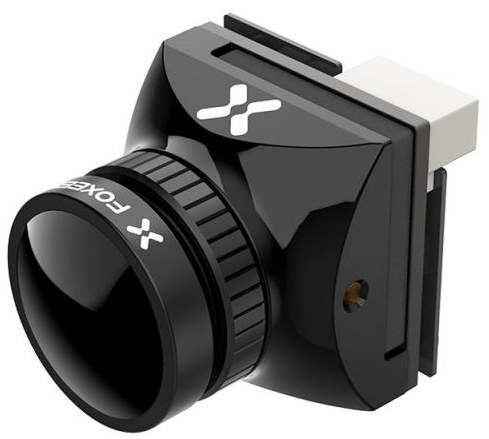
At the higher end of the pricing scale, we have the Foxeer T-Rex. A micro sized camera that gets a lot of good feedback for the image quality. You can switch the aspect ratio and between PAL and NTSC. This camera also has camera control, so you can adjust these settings from a flight controller. Unfortunately, Foxeer don’t give the physical size of the sensor, only the megapixel count. For quality, size is important.
Analogue FPV VTX
The VTx, or video transmitter, is what sends the video signal to your screen or goggles, via a VRx (video receiver). There are a few things to be aware of with a VTx.
Firstly is how the antenna connected. My personal preference is MMCX. They are lighter than SMA and far more robust than U.FL (IPEX1). Most importantly , we need to know this for choosing out antenna. If you are planning on using the hole designed for the VTx antenna on the Dolphin, the antenna will be SMA; and you will need to use a VTx with a U.FL connection, or get a replacement cable.
Next up is the power levels of the VTx. All the VTx below have pretty accurate power levels. But be aware that this is not always the case with some VTx. Something to be aware of is that doubling the power will only equate to approximately a 25% increase in range. This is because the signal is sent out in 360 degrees. But out receiver is only getting a fraction of that. For example a 200mW may get you a perfect image at 2 Km, but a 400mW power output would only add 0.5 Km of perfect image to that range.
The other useful feature is VTx control. We can use this to change the power output in flight. With iNav, we can even have the power change automatically using programming. In it’s simplest form, we can only output 25mW until we are armed. Then output or chosen level when we arm. This means less heat up when waiting for satellites, and less signal which could bleed over on to other peoples video when we power up. The two options are TBS Smart Audio and Immersion RC Tramp.
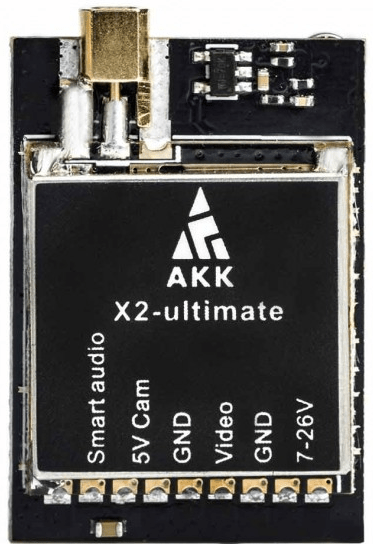
AKK X2 Ultimate
£21.40 | €24.90 | $25.99 (AKK Tek)
This is a pretty cheap but decent VTx. I have had quite a few of these, and they have always met or exceeded their power specifications. It has an MMCX connector for the antenna. This may be heavier than some other options. But it is reliable.
- Power levels: 25mW, 200mW, 600mW, 1200mW
- VTx Control: SmartAudio
- Antenna connection: MMCX or SMA using included adapter
Matek VTX-HV
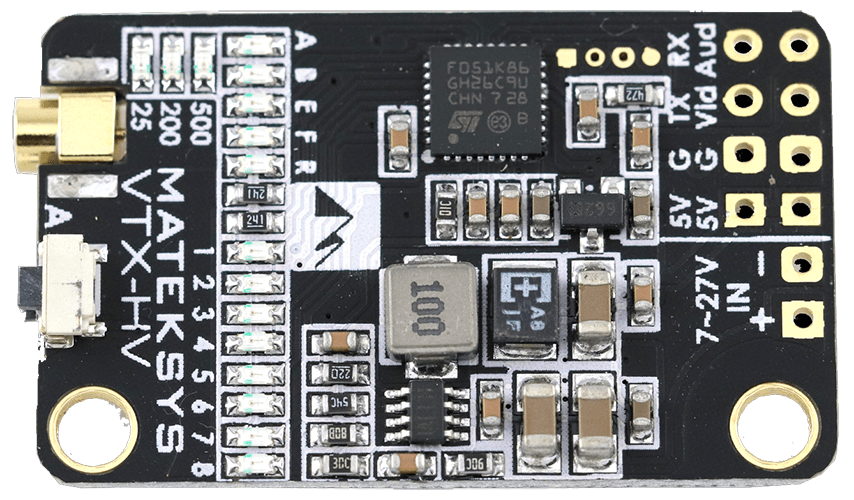
£28.89 (UnmannedTech) | €33.70 | $35.20
This VTx is great quality and reliable. It has less power than the X2 Ultimate, but is absolutely fine, especially when getting started in FPV
- Power levels: 25mW, 200mW, 500mW
- VTx Control: IRC Tramp
- Antenna connection: U.FL (IPEX1) or SMA using included adapter
RushFPV Tank Solo
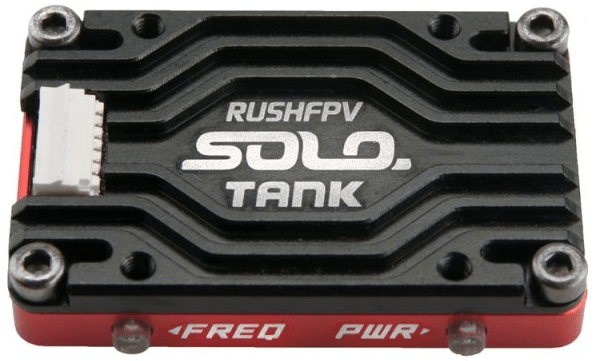
£34.95 (UnmannedTech) | €40.80 | $42.60
This VTx is a more premium VTx, with great quality, reliability, and power. This VTx has a built in heatsink to keep it as cool as possible.
- Power levels: 25mW, 400mW, 800mW, 1600mW
- VTx Control: SmartAudio
- Antenna connection: MMCX or SMA using included adapter
TBS Unify Pro32 HV
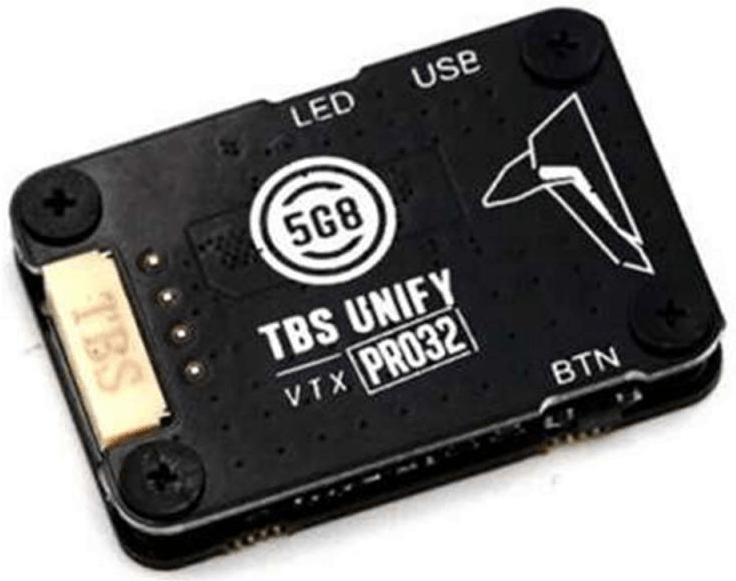
£44.90 (UnmannedTech) | €52.40 | $54.70
This VTx is a premium VTx, highly recommended by quite a few FPV pilots. The maximum power of this VTx is determined by it’s temperature. Keep it cool and it will far exceed the 1000mW advertised.
- Power levels: 25mW, 100mW, 400mW, 1000+mW
- VTx Control: SmartAudio
- Antenna connection: MMCX or SMA using included adapter
VTx Antennae
OK, I admit it. I forgot the antenna in the video. There are absolutely loads of antennas available, with different installation options and connectors. For the VTx antenna, we will be looking at omnidirectional antennae. This means that the signal is sent in almost all directions. All antennae have a null. This is an area where there is little to no signal. We need to be aware of this when we install the antenna; but this will be covered later.
A lot of the antennae out there are circular polarised. This just means that the antenna spins the signal. There are Left Hand Circular Polarised (LHCP) and Right Hand Circular Polarised (RHCP). It doesn’t matter which you use. So long as all your transmitter and receiver antennae have the same circular polarisation.
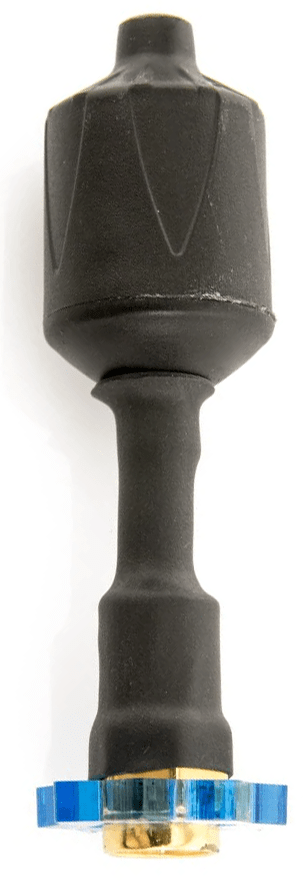
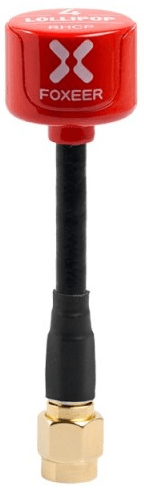
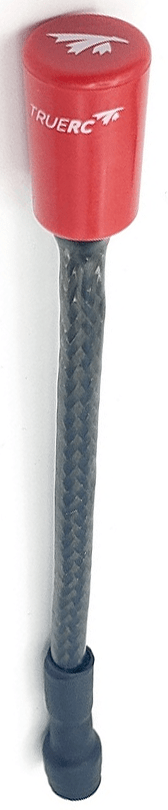
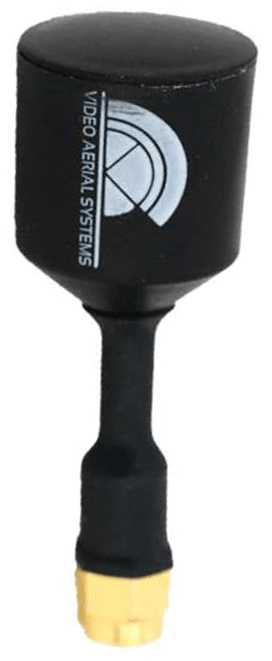
If using the Dolphin’s antenna location, we can use a pretty standard stubby or stick antenna. There are lots of antennae out there. But you can pretty much guarantee that antennae made by TrueRC Canada and Video Aerial Systems (VAS) are top quality and well tuned. Any of these antennae will work great. The longer feed wires will potentially give better signal, as more obstacles are avoided. The shorter/stubby antennae will have less drag.

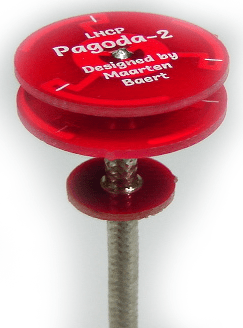
Other antenna options
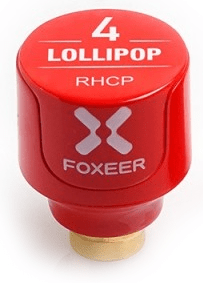
Stubby antennae, like the Foxeer – Lollipop 4 Stubby pictured on the right, are small so have less drag, and pretty robust. Most manufacturers including VAS, TrueRC Canada, and Lumenier have stubby antennae in their range.
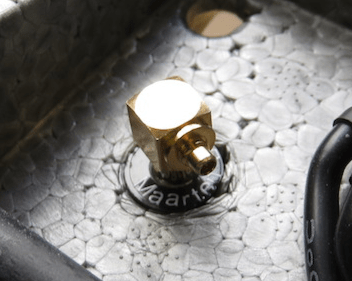
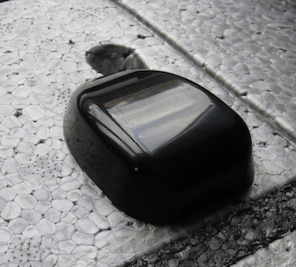
For a bit more of an aerodynamic approach, there is the MenaceRC AeroPOD. This antenna will sit on a flat surface of your plane with the connection on the opposite side. It is basically a pagoda inside a casing.
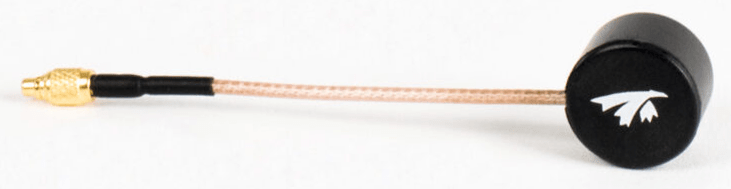
For the ultimate in aerodynamics, the antenna is completely buried in the foam. The TrueRC Canada AXII side feed is made to do just that. The flat parts of the casing are the top and bottom. Measuring only 16mm thick. This can be buried in surprisingly small wings. I had one installed in my Dart 250G, as an example.
All prices in this article were found on 3DXR.co.uk, Banggood.com, HobbyRC.co.uk, UnmannedTechShop.co.uk, or AKKTek.com on the date the article was written. Prices shown will list the store the price was taken from. If no store is shown, it is a currency conversion made on the same day; rounded to the nearest 0.10. Links to products may be affiliate links, and different prices to those shown on this page.
